Ultrasound Image Settings
You can adjust several settings based on the specific requirements of the examination and the anatomical area being imaged.
Here are some common settings that can be optimised:
Depth and focus:
Adjusting the depth of the ultrasound beam ensures that the region of interest is adequately imaged. Focus is set by you to a desired depth to enhance the clarity of structures at that point.
The depth scale is seen on the left or right side of the screen and is often displayed in centimetres and the focus signal is shown as a small arrow.
Gain:
Gain is adjusted to control the overall brightness of the image.
Take care to avoid over or under-amplification of the ultrasound signal. This can result in image artefacts or anatomical structures being missed.
Frequency:
Selecting the appropriate transducer frequency is important to achieve optimal resolution and penetration for the specific depth of the anatomy being imaged.
Different transducers have different frequencies so get the right range for you.
Lower frequency (Hz) = deeper structures
Higher Hz = superficial scanning.
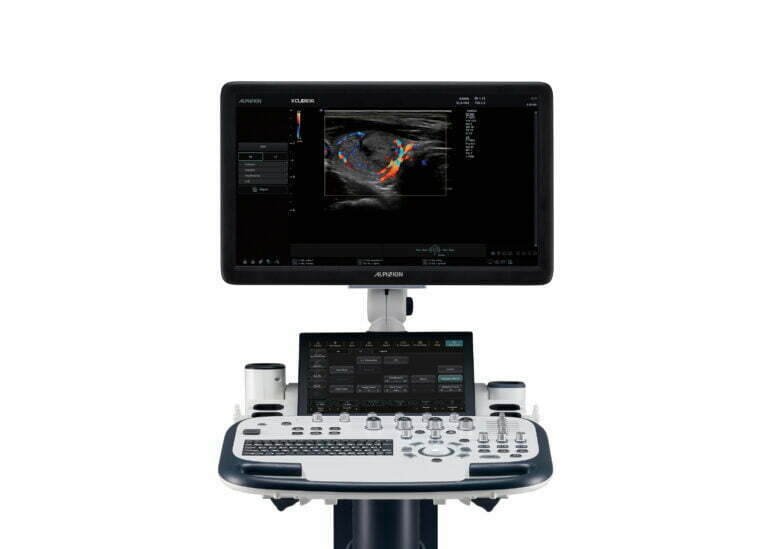
Time Gain Compensation (TGC):
These look like little DJ sliders on your control panel.
These control the amplification of the ultrasound signal at different depths.
Adjusting the TGC settings compensates for the weakening of the ultrasound signal as it passes through different tissue depths all to ensure uniform brightness throughout the image.
Dynamic Range:
The dynamic range setting determines signal intensities displayed and affects the contrast of the ultrasound image.
This setting allows for the visualisation of subtle tissue differences to help pick up relevant details that could be lost in areas of varying signal intensity.
Persistence:
Persistence helps to enhance the perception of moving structures, such as blood flow or musculoskeletal motion.
Doppler Settings (if applicable):
In cases where Doppler imaging is required to evaluate blood flow, optimising settings such as Doppler gain, scale, baseline, and filter settings can help visualise and quantify blood flow accurately. These settings may vary based on the clinical indication and the type of Doppler being used.
Spatial compounding:
This involves acquiring multiple ultrasound images of the same anatomy from different angles or using different beam steering angles and then combining these images to create a composite image. Increasing or decreasing this adjusts how much the system is processing.
Image Optimisation Presets:
These automatically adjust the settings to provide a starting point for image optimisation and will need fine-tuning.
Many ultrasound systems have pre-configured presets tailored for specific applications or anatomical areas, but these may not be set up to your requirements.
Your needs are unique, so these may need to be tailored to you.
It’s important to note that the optimal settings may vary depending on the specific ultrasound system being used and the clinical scenario. We are here to help and support you with setting up your machine and give you the tools to optimise your image as you go. For more information about our diagnostic ultrasound systems, click here